


Webpack
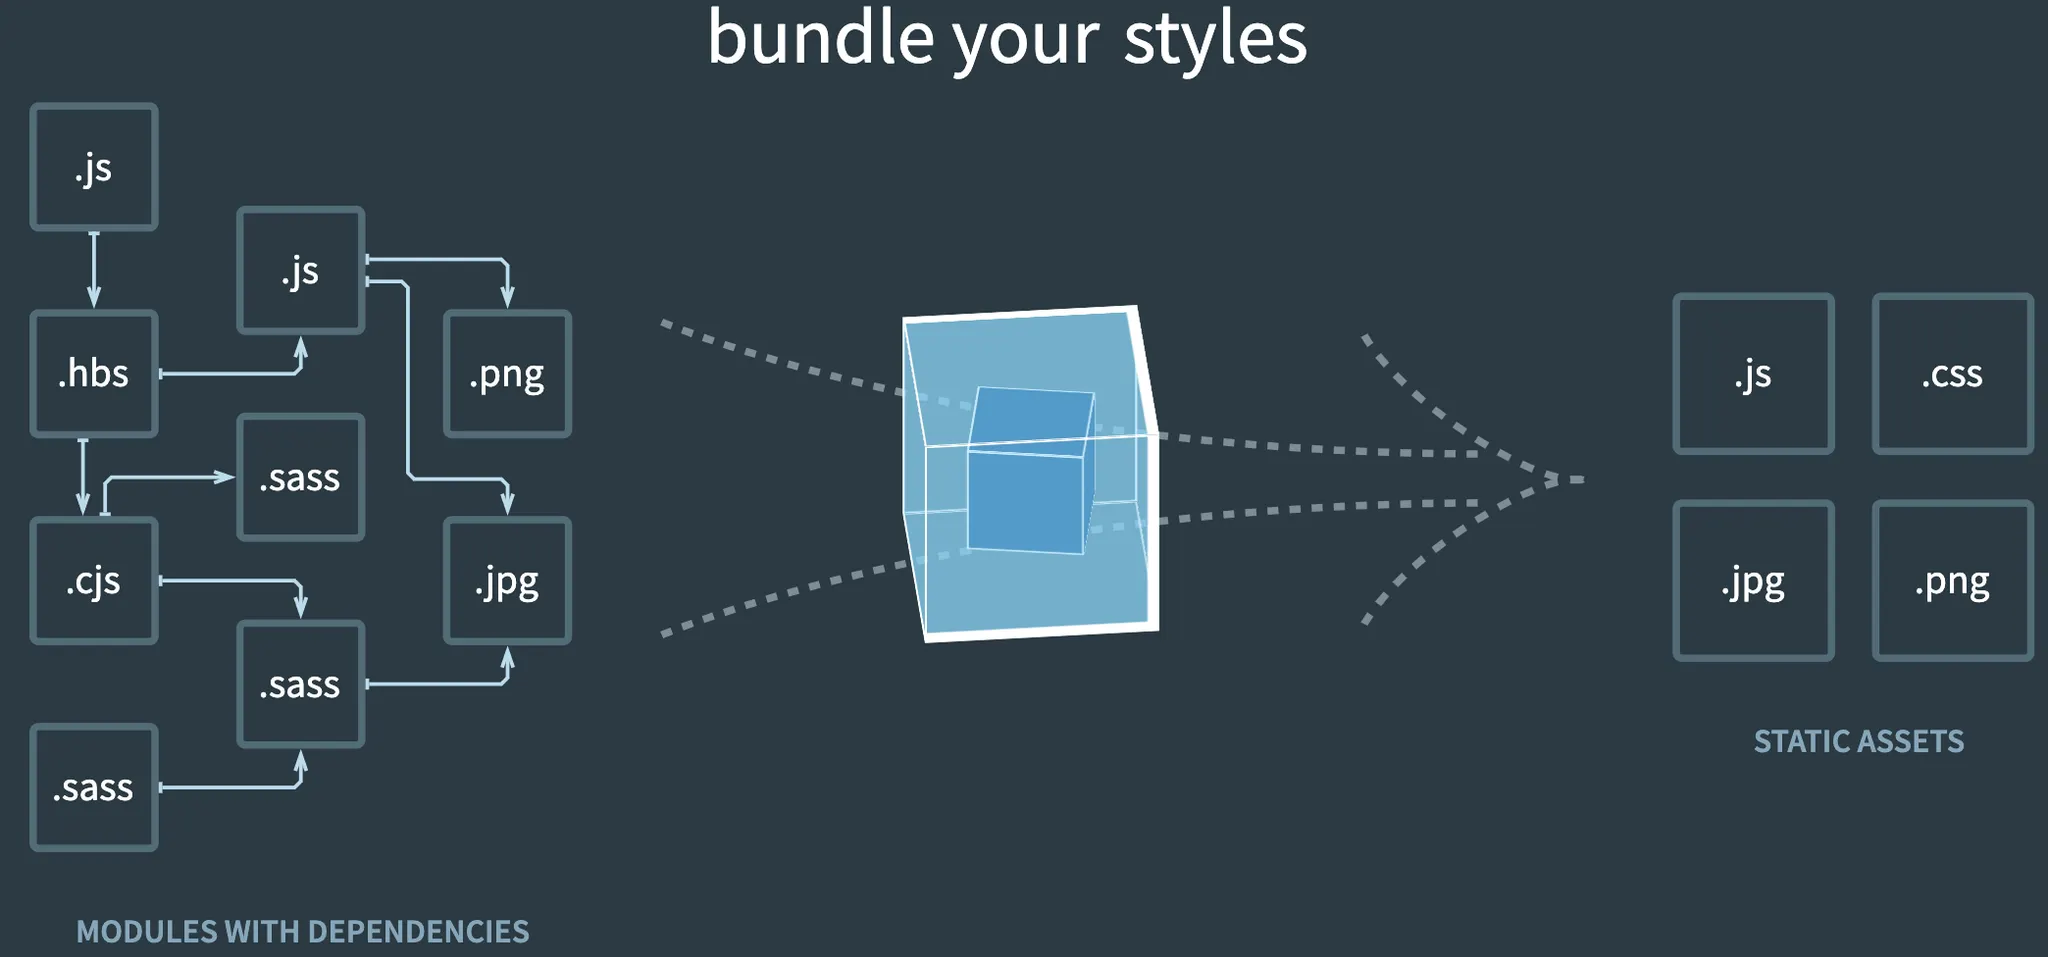
별도로 분리되어있는 JavaScript 모듈들의 의존성을 검사하고 N개의 파일로 묶는다. 이를 번들링이라고 하며, Webpack은 가장 많이 쓰이는 번들러 중 하나이다.
다른 번들러로는 browserify, roullup.js 등이 있다.
설치
$ npm install webpack --save-dev
Plain Text
복사
사용
// hello.js
module.exports = 'Hello'
// world.js
module.exports = 'World'
// entry.js
const hello = require('./hello')
const world = require('./world')
console.log(hello + world)
JavaScript
복사
$ webpack entry.js bundle.js
Hash: 9e568770bce462c4b398
Version: webpack 2.4.1
Time: 79ms
Asset Size Chunks Chunk Names
bundle.js 2.92 kB 0 [emitted] main
[0] ./hello.js 25 bytes {0} [built]
[1] ./world.js 25 bytes {0} [built]
[2] ./entry.js 93 bytes {0} [built]
$ node bundle.js
>> Helloworld
Shell
복사
설정
command line으로 webpack을 사용할 수 있지만, 옵션과 설정들이 다양해지면 명령어가 복잡해지고 한계가 생기므로 설정 파일을 분리해서 사용한다.
// webpack.config.js
module.exports = {
entry: {
'entry': './entry.js'
},
output: {
filename: 'bundle.js'
}
}
// package.json
{
"dependencies": {},
"devDependencies": {
"webpack": "^2.4.1"
},
"scripts": {
"build": "webpack entry.js bundle.js"
}
}
JavaScript
복사
$ npm run build
Hash: 048e62e002d64d39acb9
Version: webpack 2.4.1
Time: 70ms
Asset Size Chunks Chunk Names
bundle.js 2.92 kB 0 [emitted] entry
[0] ./hello.js 25 bytes {0} [built]
[1] ./world.js 25 bytes {0} [built]
[2] ./entry.js 93 bytes {0} [built]
Shell
복사
위의 예제는 아주 기본적인 방법이다.
이 외에도 babel transpiler, eslint, css-loader, file-loader 등 다양한 설정을 통하여 멋지고 아름답게(?) 번들링을 할 수 있다.
참고
•
http://d2.naver.com/helloworld/0239818
•
https://webpack.js.org/